
How to Take Accurate Body Measurements at Home
Getting a custom outfit made? Here's exactly how to take your body measurements at home, step by step, so your dress fits perfectly the first time.
By Felicia · 3 September 2026
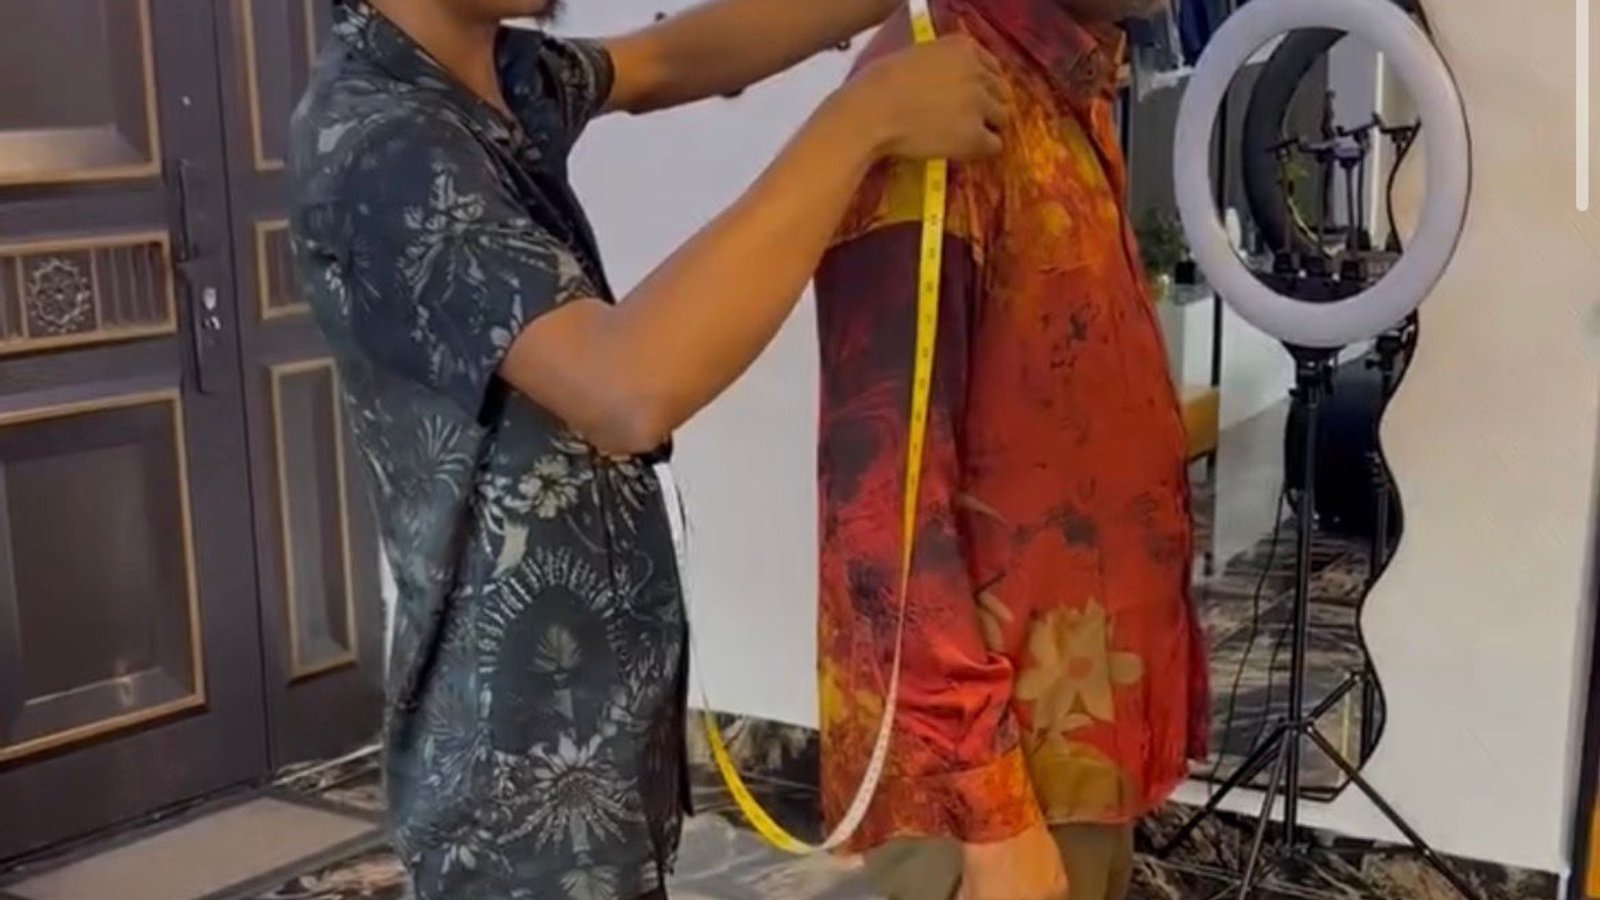
How to Take Accurate Body Measurements at Home
Here's something nobody warns you about when ordering a custom outfit: the dress is only as good as the measurements it's built on.
You can find the best fashion designer in Nigeria. You can choose the most beautiful fabric. You can describe your dream silhouette down to the last detail. And if your measurements are wrong even slightly none of that will save you from a dress that doesn't quite sit right, pinches in the wrong places, or gapes where it should hold.
Bad measurements are one of the most common reasons a custom dress needs major alterations. And the frustrating part? Most measurement errors are completely avoidable.
This guide walks you through exactly how to take your body measurements at home accurately, properly, and in a way that gives your fashion designer what they actually need to build something that fits you well.
Quick Answer: How Do You Measure Your Body for a Custom Dress?
Use a soft, flexible tape measure. Stand straight, breathe normally, and wear fitted clothing or underwear only. Measure across the fullest part of your bust, the narrowest part of your waist, and the fullest part of your hips. Record every measurement in centimetres and always double-check. For the most accurate results, have someone else take your measurements self-measurement introduces error, especially around the back and shoulders.
What You Need Before You Start
Before you take a single measurement, get these ready:
- A soft fabric or flexible plastic tape measure: the kind used by tailors and seamstresses. Not a metal builder's tape. Not a ruler. A flexible tape is the only tool that follows the curves of a body accurately.
- A full-length mirror: to check your posture and confirm the tape is sitting straight.
- A pen and paper (or your phone's notes app) to record each measurement immediately before you forget it.
- Fitted clothing or underwear only: measuring over thick fabric adds false volume to every number. Strip down to what you'd wear directly under the outfit.
- A helper, ideally certain measurements (particularly across the back, shoulder width, and back length) are significantly more accurate when someone else holds the tape. If you're measuring alone, use a mirror and take each measurement twice.
The Golden Rules of Taking Body Measurements
Before the how, the rules. Follow these and your measurements will be reliable.
Stand naturally. Don't pull yourself tall or slouch. Stand the way you normally stand. Your measurements should reflect your real body, not your best posture.
Don't pull the tape tight. The tape should sit snug against the skin but not dig in or compress. A tight measurement will produce a garment that's too small. A general guide: if you can slide one finger comfortably under the tape, you're at the right tension.
Don't let the tape sag. On the other hand, if the tape is too loose, you'll get a number that's too large and the garment will be baggy. Keep it flat against the body all the way around.
Keep the tape level. For circumference measurements (bust, waist, hips), the tape should run parallel to the floor all the way around, not angling up at the back or dropping down at one side.
Record in centimetres. Most Nigerian fashion designers work in centimetres. Unless your designer has specified otherwise, use cm.
Take every measurement twice. If two readings agree, you have your number. If they differ, take a third and use the reading that appears twice.
The Measurements You Need (And How to Take Each One)
1. Bust
What it is: The circumference of the fullest part of your chest.
How to take it: Stand straight. Wrap the tape measure around the fullest part of your bust, usually across the nipple line. Make sure the tape is level all the way around (check the back in a mirror if measuring alone). Breathe normally don't hold your breath in or puff your chest out. The tape should be snug but not compressing.
Common mistake: Letting the tape drop lower at the back. This gives a reading that's too large. Keep it level.
2. Waist
What it is: The circumference of the narrowest part of your torso your natural waist.
How to take it: Find your natural waistline by bending slightly to one side the crease that forms is your natural waist. It sits above your belly button, not at it. Wrap the tape around this point, keep it level, and breathe out normally before reading the number. Don't hold your stomach in.
Common mistake: Measuring at the belly button instead of the true waist. These are often different points, and confusing them will throw off the fit of anything waist-fitted.
3. Hips
What it is: The circumference of the fullest part of your hips and seat.
How to take it: Stand with your feet together. Find the widest point across your hips and buttocks usually about 18 to 23 cm below your natural waist, but this varies by body type. Wrap the tape around this fullest point, keep it level, and record the number.
Common mistake: Measuring too high (across the hip bone rather than the seat) gives a number that's too small and leads to a dress that's too tight across the bottom.
4. Shoulder Width
What it is: The distance from the edge of one shoulder to the edge of the other, measured across the back.
How to take it: This one really benefits from a helper. Have someone place one end of the tape at the point where your shoulder meets your arm (the shoulder seam point), then measure straight across to the same point on the other side. The tape crosses the upper back.
If measuring alone: stand in front of a mirror wearing a fitted top, estimate as accurately as you can, and flag to your designer that this measurement was self-taken.
Why it matters: Shoulder fit is one of the hardest things to correct in alterations. Getting it right from the start saves significant work later.
5. Chest / Upper Bust
What it is: The circumference of the chest above the bust across the upper chest, under the arms.
How to take it: Wrap the tape around your upper chest, just under your armpits and above the fullest part of the bust. Keep it level and snug.
Why it's separate from bust: For fitted bodices and structured tops, designers often need both to understand how to shape the pattern between the chest and the fullest bust point.
6. High Hip
What it is: The circumference of the hip area just below the waist above the fullest hip point.
How to take it: Measure about 9 to 10 cm below your natural waist. This point captures the upper hip/lower abdomen area and matters significantly for fitted skirts and trousers.
7. Full Hip (Lower Hip)
Same as the standard hip measurement described above. Some designers distinguish between high and full hip when in doubt, provide both and let your designer advise.
8. Torso Length (Front and Back)
What it is: The length from your shoulder to your natural waist measured along the front of the body and separately along the back.
How to take it (front): Place the tape at the top of your shoulder (where the seam would sit), run it down over the bust, and stop at your natural waist. That's your front bodice length.
How to take it (back): From the same shoulder point, run the tape down the centre back to the natural waist.
Why both? The front and back torso lengths are often different, and a well-fitted bodice accounts for both. This measurement matters especially for wrap styles, structured bodices, and any dress with a defined waist seam.
9. Dress Length
What it is: The total length of the dress from shoulder to hem.
How to take it: Stand straight in the shoes (or heel height) you plan to wear with the outfit. Have someone measure from the top of your shoulder, down your body, to where you want the hem to end. Specify the shoe height it changes the required length noticeably.
Alternatives: Some designers measure from the natural waist to the hem (skirt length) separately. Provide both if your designer asks.
10. Sleeve Length
What it is: The length of the sleeve from shoulder point to where it should end.
How to take it: Start at the shoulder seam point (where shoulder meets arm). Bend your arm slightly at the elbow. Run the tape along the outside of the arm, over the elbow, to your wrist bone. The slight bend in the elbow ensures the sleeve has enough ease when your arm is in motion.
11. Arm Circumference (Upper Arm)
What it is: The circumference of the fullest part of your upper arm.
How to take it: Wrap the tape around the fullest part of your upper arm usually the bicep area with your arm relaxed at your side.
Why it matters: For fitted sleeves, fitted blazers, or any sleeved garment with a tailored cut. An underestimated upper arm measurement leads to sleeves that are too tight to move in comfortably.
12. Inseam (For Trousers and Jumpsuits)
What it is: The length from your crotch to your ankle.
How to take it: Stand with your feet slightly apart. Have someone measure from the crotch seam point (at the top inner thigh) straight down the inside leg to your ankle bone. Wear the shoes you'll wear with the trousers if the hem is meant to fall at a specific point.
13. Crotch Depth (For Trousers and Jumpsuits)
What it is: The distance from your natural waist to your seat; how deep the trouser crotch needs to be.
How to take it: Sit on a flat, hard surface. Measure from your natural waist down to the seat of the chair. This is your crotch depth.
Why it matters: Trousers and jumpsuits with an incorrect crotch depth are uncomfortable in a very specific and unforgettable way. Get this right.
How to Send Your Measurements to Your Fashion Designer
Once you have your measurements, send them clearly:
- Label every measurement; don't send a list of numbers without context. "86, 68, 96" means nothing without labels.
- Specify the unit centimetres, unless your designer works in inches.
- Note your heel height for length measurements, especially dress and trouser lengths.
- Flag any self-taken measurements let your designer know which measurements you took without help so they can factor in a margin or ask you to re-check.
- Include any fit notes — if you carry weight differently in certain areas, if one shoulder is higher than the other, if you have a longer torso than average — tell your designer. These notes help them adjust the pattern before production even starts.
Measurement Mistakes That Cause Poorly Fitting Custom Dresses
Even with the best intentions, these errors come up regularly:
Measuring over thick clothing. Always measure in fitted underwear or a thin bodysuit. Every millimetre of fabric adds to the reading.
Holding your breath. Your body changes shape when you hold your breath. Breathe normally throughout.
Pulling the tape too tight. Especially common around the waist. The resulting garment will be too small and uncomfortable.
Using the wrong waist point. Natural waist is above the belly button, at the narrowest point. Measuring at the belly button gives the wrong number for almost every fitted design.
Measuring hips too high. The hip measurement should capture the fullest point of your seat, not the hip bone.
Ignoring the back. It's easy to keep the tape level at the front and let it drift at the back. Check using a mirror or ask your helper to confirm the tape is running straight all the way around.
Rounding down. When in doubt, round up slightly not down. A dress that's slightly too big can be taken in. One that's too small is significantly harder to fix.
Do You Still Need to Come In for a Fitting?
Yes even with perfect measurements.
Measurements give your designer the numbers. Fittings give them the reality. A fitting is where the designer sees the garment on your actual body and makes the adjustments that numbers alone can't predict the way a seam falls across a specific curve, the way a neckline sits on your particular frame, the way a hem breaks at your actual heel height.
Think of measurements as the map and fittings as the journey. The map gets you most of the way there. The journey handles the rest.
Book With Gosh Couture And We Handle the Rest
At Gosh Couture, we take measurements seriously because we know that everything that follows depends on them.
When you book a consultation with us, we take your measurements ourselves during your first session. We check multiple points, note any fit considerations specific to your body, and build your pattern from a complete, accurate picture not a list of numbers from a tape measure held loosely around a coat.
If you're based outside our location or booking remotely, we walk you through exactly how to take and send your measurements so that what we build fits you as closely as possible before your first fitting.
Your next custom outfit starts with a conversation. Book a consultation with Gosh Couture →
Tell us about your event, your design, your timeline and we'll take it from there.
FAQ
Do I need someone to help me take measurements at home? Ideally, yes especially for shoulder width, back length, and keeping the tape level around the back. Some measurements are reliable when self-taken (front bust, waist, hips with a mirror), but having a helper reduces error significantly. If you're measuring alone, take each measurement twice and flag them when sending to your designer.
What type of tape measure should I use? A soft, flexible fabric or plastic tape measure the kind used by dressmakers and tailors. Do not use a metal builder's tape. It won't follow body curves accurately and the readings will be unreliable.
Should I measure in centimetres or inches? Centimetres, unless your designer specifies otherwise. Most Nigerian fashion designers work in centimetres.
What do I wear when taking measurements? Fitted underwear or a thin bodysuit. Measuring over thick clothing adds false volume to every reading and produces a garment that's larger than you need.
Can I send measurements via WhatsApp or message? Yes, but label each measurement clearly. A list of numbers without labels is impossible to work with. Write "Bust: 92cm, Waist: 72cm, Hips: 100cm" etc., and include any relevant notes about fit or your body.
What if my measurements change between booking and pickup? Tell your designer as early as possible. Minor changes can usually be accommodated in fittings. Significant changes particularly weight gain or loss may require a new measurement session and pattern adjustments.
Why does my custom dress still not fit even with correct measurements? Measurements are a starting point, not the whole solution. A fitting allows the designer to refine the garment on your actual body. A custom dress with no fitting sessions is built entirely from numbers fittings are what make the difference between a dress that fits well and one that fits perfectly.
How often should I retake my measurements? Retake your measurements any time there's been a noticeable change in your body weight gain or loss, pregnancy, or if it's been more than six months since your last set was taken. Measurements from two years ago are not reliable for a new garment today.